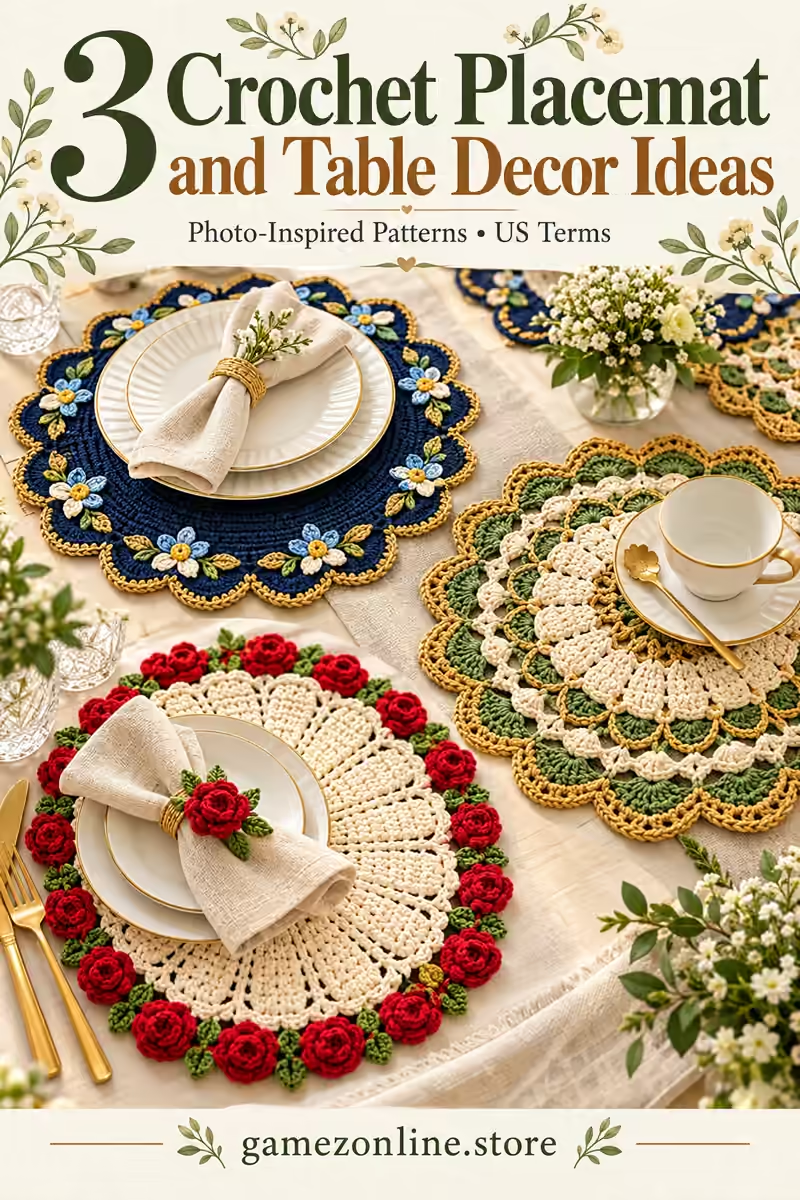
3 Crochet Placemat and Table Decor Ideas
Explore three crochet placemat and table decor ideas with original US-term patterns for navy floral mats, green lace borders and rose-edged cream mats. Each photo is paired with an original construction, materials, counted steps and finishing notes.
US crochet terms and working rules
ch = chain; sl st = slip stitch; sc = single crochet; hdc = half double crochet; dc = double crochet; inc = 2 stitches in one stitch; sc2tog = single crochet two stitches together; st(s) = stitch(es); sp = space; RS = right side. A magic ring is an adjustable yarn loop. Numbers in brackets give end-of-round or end-of-row counts. Repeat instructions between parentheses the stated number of times.
Unless a step explicitly says otherwise, beginning chains do not count as stitches. For dc rounds, ch 2 to reach height, then work the first dc into the first stitch; join to the first real dc. For sc rounds, ch 1 and join to the first sc. For flat sc rows, ch 1 and turn. Flat dc rows explicitly use ch 3 as the first counted dc. Do not work into joining slip stitches. Change color by completing the last yarn-over of the preceding stitch with the new yarn.
To work sc2tog: insert hook into the next stitch and draw up a loop, repeat in the following stitch, yarn over and draw through all three loops. For a surface slip stitch, bring the yarn up from behind the fabric, insert the hook into the next chosen gap and pull the new loop through the loop already on the hook. Keep these stitches loose.
US terms: inc = 2 stitches of the stated type in one stitch; sc2tog/dc2tog/dc3tog = work two or three stitches together as named; BLO = back loop only; FPdc = front-post double crochet; tr = treble crochet. Ch 3 counts as a dc unless stated otherwise; ch 1 for turning never counts. Joined rounds close with sl st unless continuous rounds are specified. The printed charts in some photographs are reference content, not instructions verified or transcribed here.
1. Navy Floral-Edge Placemat Set
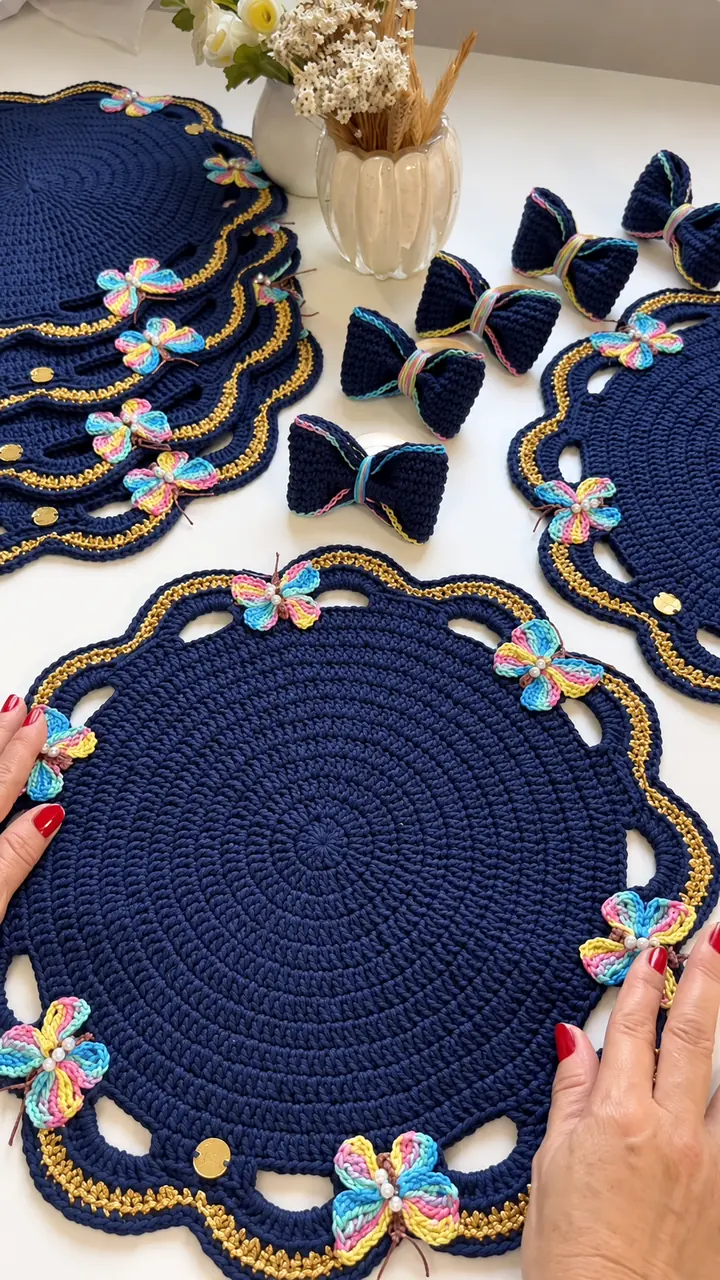
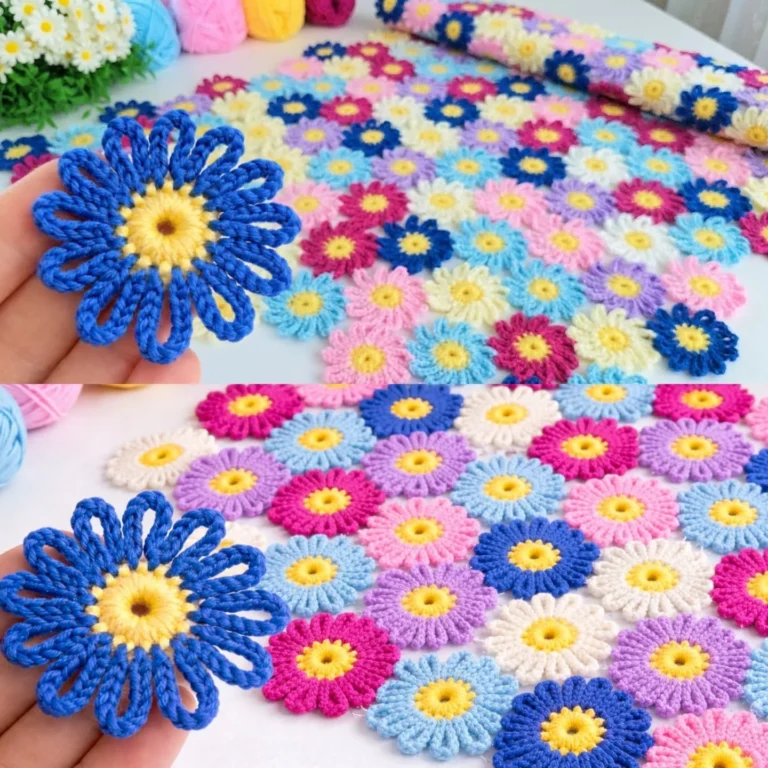
This navy floral-edge placemat set highlights navy, ivory, blue, gold and green. The written version explains a complete original construction while simplifying details that cannot be recovered reliably from the photograph.
Materials, gauge and size
Washable cotton, approximately 100–180 g per mat plus 20–50 g for trim; allow four times this for a set. Colors: navy, ivory, blue, gold and green. Hook: 3–3.5 mm. Quantities are estimates; weigh a sample and add 15–20% for assembly, edging and adjustments.
Also use a yarn needle, scissors, markers, measuring tape and blocking pins.
Gauge and size: Start near 16 dc × 9 rounds per 10 cm, but measure the actual circle diameter. Flatness, washed size and tension matter more than a promised photographic match.
Round placemat foundation
- Round 1: Into a magic ring work 12 dc; join. [12 dc]
- Round 2: Work 2 dc in each stitch; join. [24 dc]
- Round 3: Repeat (1 dc, 2 dc in next stitch) 12 times; join. [36 dc]
- Round 4: Repeat (2 dc, 2 dc in next stitch) 12 times; join. [48 dc]
- Round 5: Repeat (3 dc, 2 dc in next stitch) 12 times; join. [60 dc]
- Round 6: Repeat (4 dc, 2 dc in next stitch) 12 times; join. [72 dc]
- Round 7: Repeat (5 dc, 2 dc in next stitch) 12 times; join. [84 dc]
- Round 8: Repeat (6 dc, 2 dc in next stitch) 12 times; join. [96 dc]
- Round 9: Repeat (7 dc, 2 dc in next stitch) 12 times; join. [108 dc]
- Round 10: Repeat (8 dc, 2 dc in next stitch) 12 times; join. [120 dc]
Measured diameter
- The counted circle ends at Round 10 with 120 dc. At 16 dc per 10 cm that is approximately 75 cm around, or 24 cm diameter by circumference; row gauge may give a different result. For a larger mat, Round 11: (9 dc, inc) twelve times [132]; Round 12: (10 dc, inc) twelve times [144]. Continue adding 12 evenly spaced increases each round until the washed diameter reaches 30–35 cm.
- Record final round count and perimeter N, always a multiple of 12 before any tension adjustments. If it ruffles, reduce increases; if it cups, add increases evenly and record the revised N. Make one trial mat before multiplying supplies for a set.
- With the center color work 10 sc into a magic ring; join [10]. With the petal color repeat (sl st in next sc, 5 dc in next sc) five times. [Five petals] Fasten off with a sewing tail; weave or sew both ends securely.
Tiny leaf
- Ch 7. Starting in second chain, work sc, hdc, 2 dc, hdc, then 3 sc in the last chain. Working along the underside, hdc, 2 dc, hdc, sc [13 stitches]. Sl st to the beginning and fasten off. Make the number specified in the project, leaving sewing tails.
Navy floral edge, handle loops and napkin rings
- Work two sc rounds in navy [N each]. Make eight small five-petal flowers and sixteen tiny leaves per mat; use ivory, gold and pale blue petals. Arrange four flower-and-leaf clusters along the lower left curve and four along the lower right, keeping the top edge clear. Sew every center and leaf tip.
- Decorative handle loops: mark two opposite six-stitch spans. On the next round sc until a marked span, ch 10, skip those 6 stitches and continue; repeat at the opposite span [N − 12 sc and two ch-10 loops]. Following round: sc in each old sc and ten sc in each loop [N + 8]. These flat loops are decorative, not load-bearing handles.
- Napkin ring: ch 19; sc in second chain and across [18]. Rows 2–5 sc across [18]. Sew short ends together to form a ring; make four and add one small flower plus two leaves to each. Make four placemats and four rings, checking colorfastness before use with table linen.
Assembly and finishing
- Check all counts before joining. Weave ends through several stitches in three directions. Sew point joins more than once and distribute tension evenly.
- Wash a sample using the yarn care instructions, block gently and allow it to dry completely. Recheck fit or motif size after washing. These original patterns are photo-inspired and physically untested; they do not reproduce a verified photographed chart.
2. Ivory, Olive and Gold Lace Placemat
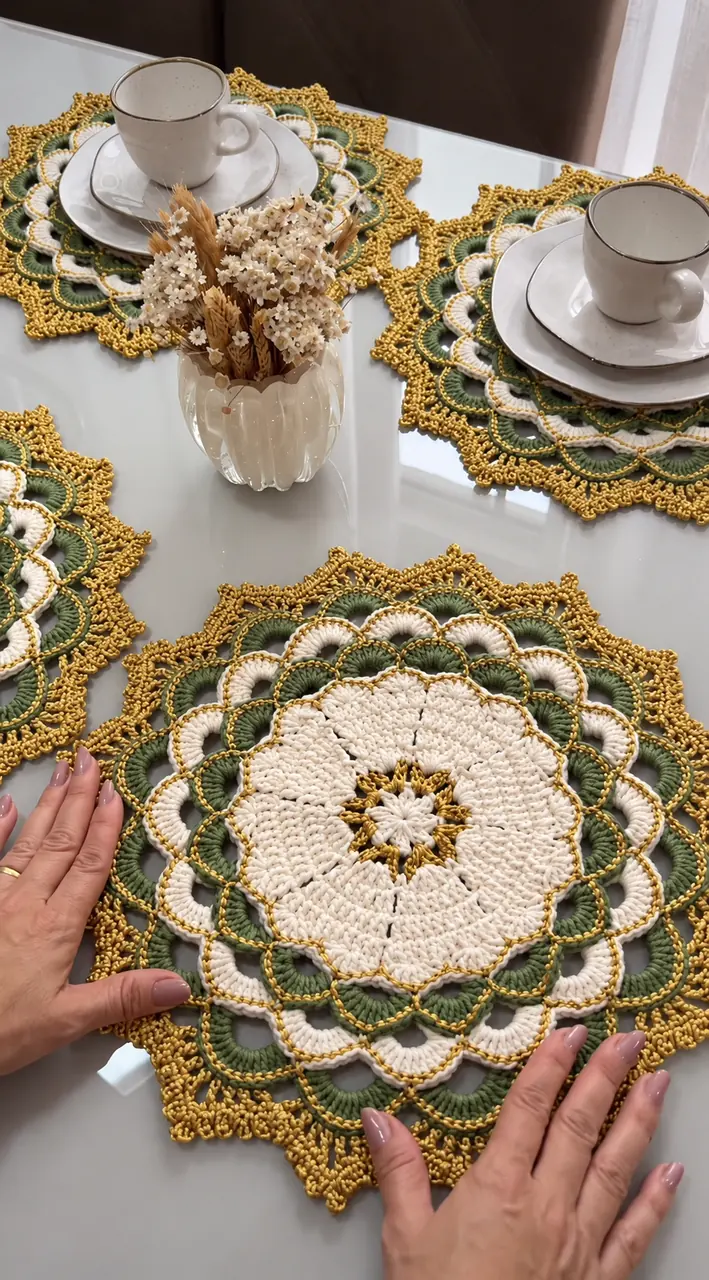
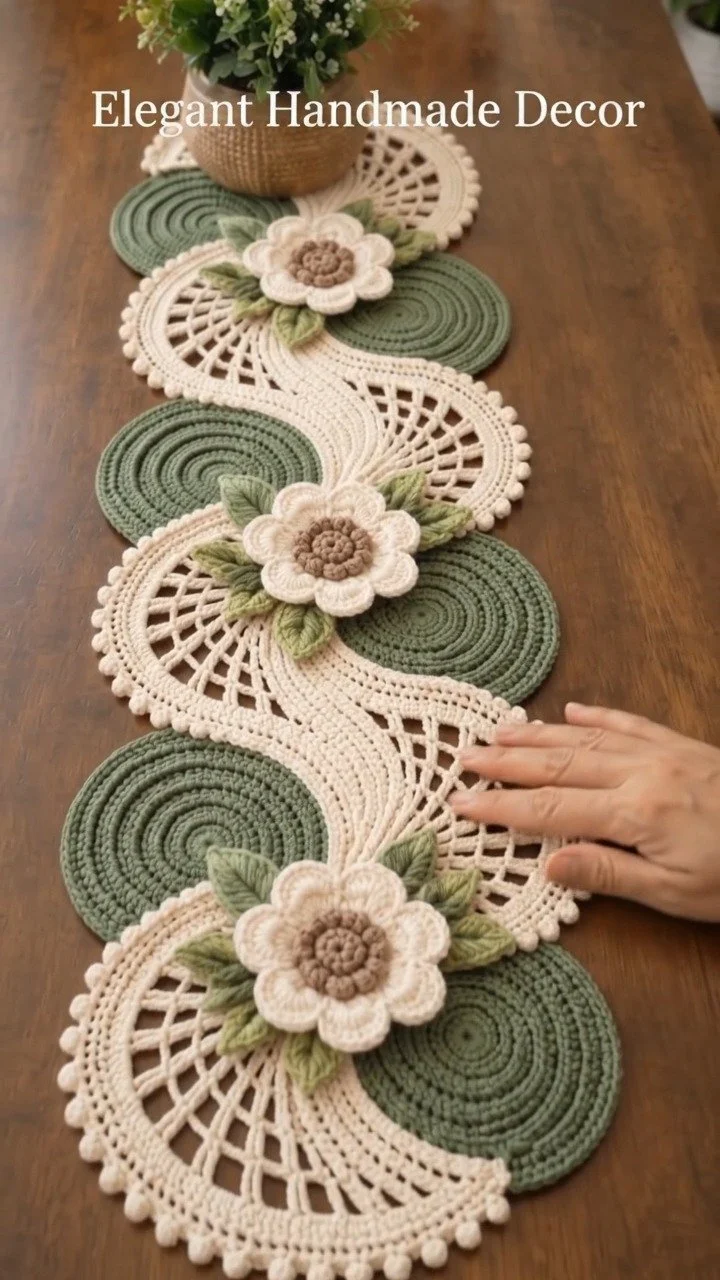
This ivory, olive and gold lace placemat highlights ivory, olive and gold. The written version explains a complete original construction while simplifying details that cannot be recovered reliably from the photograph.
Materials, gauge and size
Washable cotton, approximately 100–180 g per mat plus 20–50 g for trim; allow four times this for a set. Colors: ivory, olive and gold. Hook: 3–3.5 mm. Quantities are estimates; weigh a sample and add 15–20% for assembly, edging and adjustments.
Also use a yarn needle, scissors, markers, measuring tape and blocking pins.
Gauge and size: Start near 16 dc × 9 rounds per 10 cm, but measure the actual circle diameter. Flatness, washed size and tension matter more than a promised photographic match.
Round placemat foundation
- Round 1: Into a magic ring work 12 dc; join. [12 dc]
- Round 2: Work 2 dc in each stitch; join. [24 dc]
- Round 3: Repeat (1 dc, 2 dc in next stitch) 12 times; join. [36 dc]
- Round 4: Repeat (2 dc, 2 dc in next stitch) 12 times; join. [48 dc]
- Round 5: Repeat (3 dc, 2 dc in next stitch) 12 times; join. [60 dc]
- Round 6: Repeat (4 dc, 2 dc in next stitch) 12 times; join. [72 dc]
- Round 7: Repeat (5 dc, 2 dc in next stitch) 12 times; join. [84 dc]
- Round 8: Repeat (6 dc, 2 dc in next stitch) 12 times; join. [96 dc]
- Round 9: Repeat (7 dc, 2 dc in next stitch) 12 times; join. [108 dc]
- Round 10: Repeat (8 dc, 2 dc in next stitch) 12 times; join. [120 dc]
Measured diameter
- The counted circle ends at Round 10 with 120 dc. At 16 dc per 10 cm that is approximately 75 cm around, or 24 cm diameter by circumference; row gauge may give a different result. For a larger mat, Round 11: (9 dc, inc) twelve times [132]; Round 12: (10 dc, inc) twelve times [144]. Continue adding 12 evenly spaced increases each round until the washed diameter reaches 30–35 cm.
- Record final round count and perimeter N, always a multiple of 12 before any tension adjustments. If it ruffles, reduce increases; if it cups, add increases evenly and record the revised N. Make one trial mat before multiplying supplies for a set.
Olive loop border and gold points
- Border Round 1: join olive; (sc in next stitch, ch 3, skip 2) around [N/3 anchors and arches]. Round 2: into each arch work (sc, hdc, 3 dc, hdc, sc), sl st in next anchor [N/3 seven-stitch scallops].
- Gold edging: sc in each scallop stitch, ch 3 and sl st in the first of those chains after the middle dc of each scallop, and sl st across each old anchor join. Keep all picots the same size. Make four matching mats. For a small matching coaster, stop the dc circle at Round 5 [60 dc] and use the same three-position border [20 scallops].
- The reference has wider open lace loops; this counted scalloped border is an original compact interpretation. Block the inner circle flat before spreading the scallops. Do not use ordinary cotton as a claimed heatproof trivet.
Assembly and finishing
- Check all counts before joining. Weave ends through several stitches in three directions. Sew point joins more than once and distribute tension evenly.
- Wash a sample using the yarn care instructions, block gently and allow it to dry completely. Recheck fit or motif size after washing. These original patterns are photo-inspired and physically untested; they do not reproduce a verified photographed chart.
3. Cream Placemat with Red Rose Border
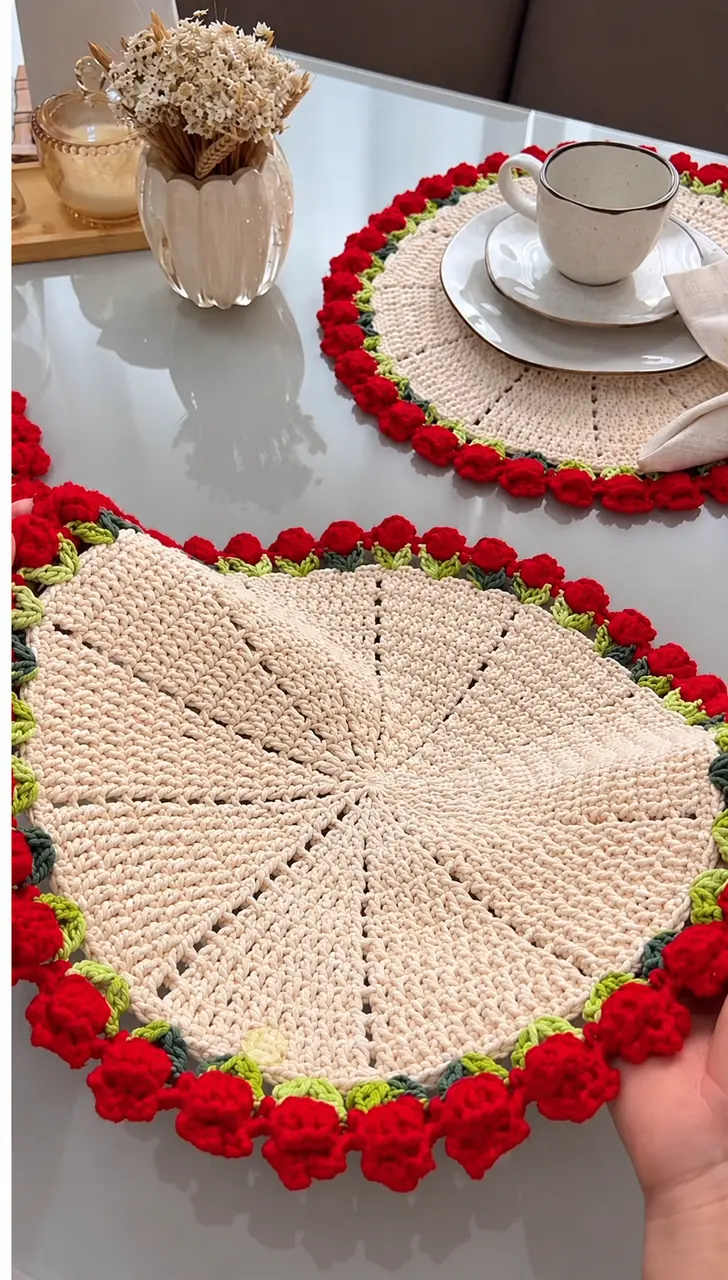
This cream placemat with red rose border highlights cream, red and green. The written version explains a complete original construction while simplifying details that cannot be recovered reliably from the photograph.
Materials, gauge and size
Washable cotton, approximately 100–180 g per mat plus 20–50 g for trim; allow four times this for a set. Colors: cream, red and green. Hook: 3–3.5 mm. Quantities are estimates; weigh a sample and add 15–20% for assembly, edging and adjustments.
Also use a yarn needle, scissors, markers, measuring tape and blocking pins.
Gauge and size: Start near 16 dc × 9 rounds per 10 cm, but measure the actual circle diameter. Flatness, washed size and tension matter more than a promised photographic match.
Round placemat foundation
- Round 1: Into a magic ring work 12 dc; join. [12 dc]
- Round 2: Work 2 dc in each stitch; join. [24 dc]
- Round 3: Repeat (1 dc, 2 dc in next stitch) 12 times; join. [36 dc]
- Round 4: Repeat (2 dc, 2 dc in next stitch) 12 times; join. [48 dc]
- Round 5: Repeat (3 dc, 2 dc in next stitch) 12 times; join. [60 dc]
- Round 6: Repeat (4 dc, 2 dc in next stitch) 12 times; join. [72 dc]
- Round 7: Repeat (5 dc, 2 dc in next stitch) 12 times; join. [84 dc]
- Round 8: Repeat (6 dc, 2 dc in next stitch) 12 times; join. [96 dc]
- Round 9: Repeat (7 dc, 2 dc in next stitch) 12 times; join. [108 dc]
- Round 10: Repeat (8 dc, 2 dc in next stitch) 12 times; join. [120 dc]
Measured diameter
- The counted circle ends at Round 10 with 120 dc. At 16 dc per 10 cm that is approximately 75 cm around, or 24 cm diameter by circumference; row gauge may give a different result. For a larger mat, Round 11: (9 dc, inc) twelve times [132]; Round 12: (10 dc, inc) twelve times [144]. Continue adding 12 evenly spaced increases each round until the washed diameter reaches 30–35 cm.
- Record final round count and perimeter N, always a multiple of 12 before any tension adjustments. If it ruffles, reduce increases; if it cups, add increases evenly and record the revised N. Make one trial mat before multiplying supplies for a set.
Raised rose appliqué
- Ch 21. Row 1: Sc in second chain and across. [20 sc]
- Row 2: Ch 1, turn; repeat (sl st in next stitch, 5 dc in next stitch) ten times. [Ten petals; 10 sl sts and 50 dc] Fasten off with a 40 cm tail.
- Roll the petal strip from one end, keeping the sc foundation along the bottom. Stitch through the base several times, then spread the outer petals gently. Sew the rose to the motif through the base, then tack each outer petal so it cannot catch on loose threads.
Tiny leaf
- Ch 7. Starting in second chain, work sc, hdc, 2 dc, hdc, then 3 sc in the last chain. Working along the underside, hdc, 2 dc, hdc, sc [13 stitches]. Sl st to the beginning and fasten off. Make the number specified in the project, leaving sewing tails.
Rose border and four-place set
- Work two cream sc rounds at N stitches, then one green sc round at N stitches. Make twelve red rolled roses and 24 tiny leaves per mat. Sew the roses equally around the green rim, with two leaves beneath each. Use at least two attachment points on every rose and leaf so they cannot turn over.
- For four mats make 48 roses and 96 leaves. The flowers add width outside the basic circle; measure a completed mat before deciding table spacing. For two small matching coasters, stop at the 60-dc Round 5 and sew six roses plus twelve leaves around each. Keep bulky trim outside the area supporting a cup or plate.
Assembly and finishing
- Check all counts before joining. Weave ends through several stitches in three directions. Sew point joins more than once and distribute tension evenly.
- Wash a sample using the yarn care instructions, block gently and allow it to dry completely. Recheck fit or motif size after washing. These original patterns are photo-inspired and physically untested; they do not reproduce a verified photographed chart.