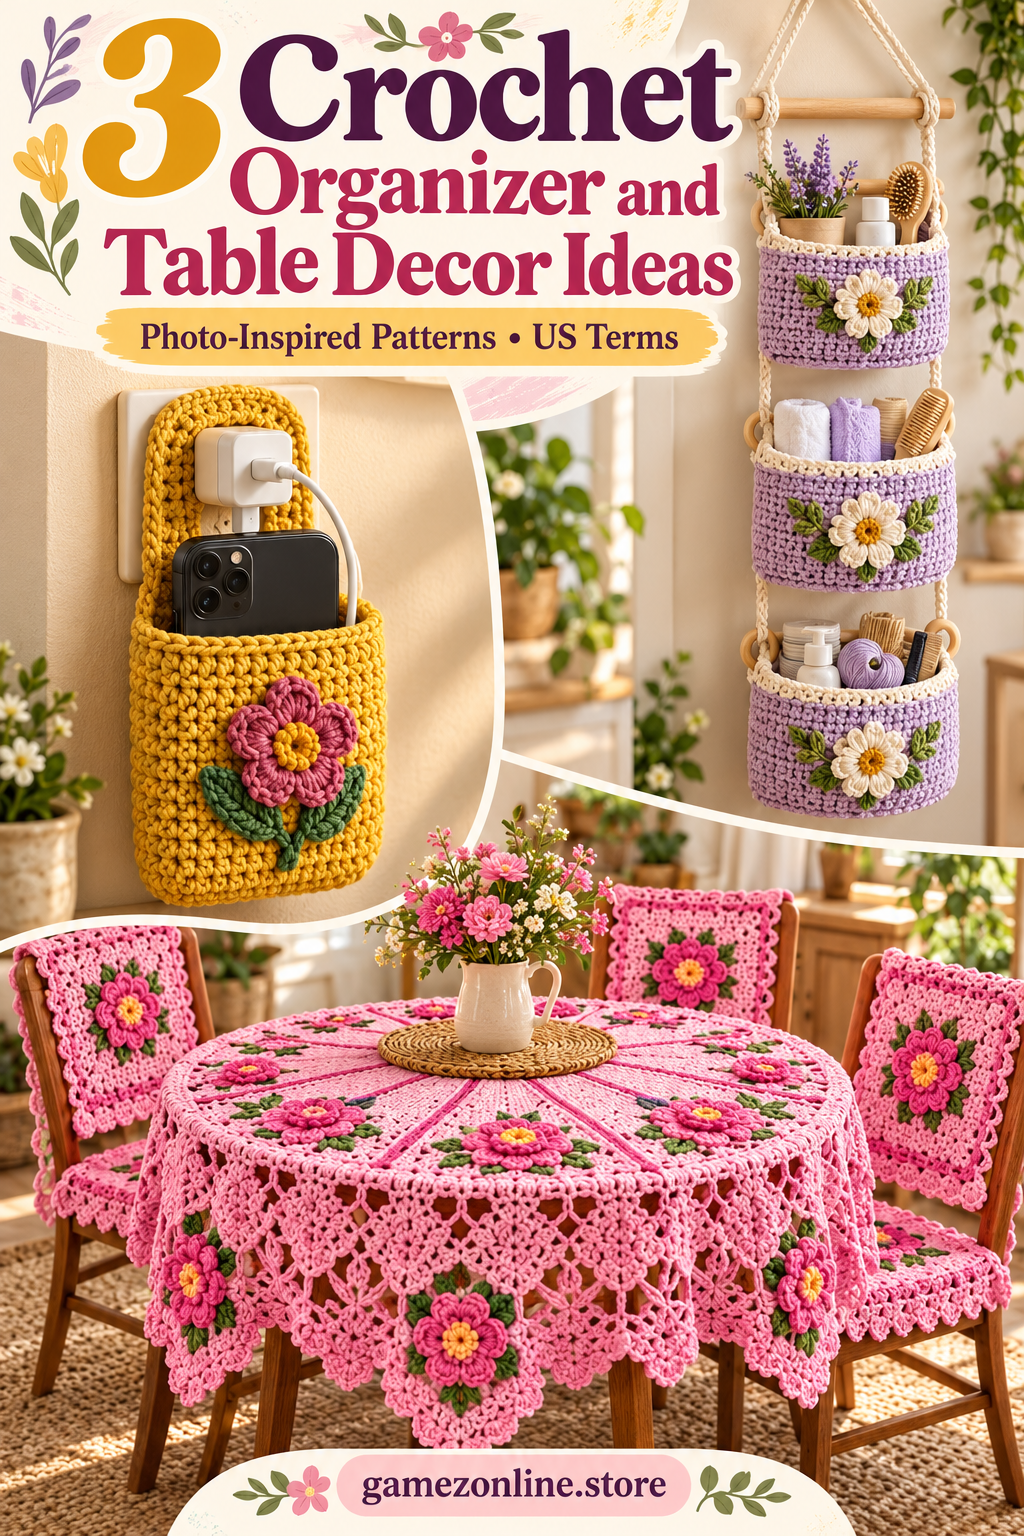
3 Crochet Organizer and Table Decor Ideas
Explore three crochet organizer and table decor ideas: a phone pocket, hanging bathroom baskets and a pink floral table set with counted patterns. Each reference below has its own materials, counted construction, assembly and finishing instructions.
US crochet terms and working rules
ch = chain; sl st = slip stitch; sc = single crochet; hdc = half double crochet; dc = double crochet; inc = 2 stitches in one stitch; sc2tog = single crochet two stitches together; st(s) = stitch(es); sp = space; RS = right side. A magic ring is an adjustable yarn loop. Numbers in brackets give end-of-round or end-of-row counts. Repeat instructions between parentheses the stated number of times.
Unless a step explicitly says otherwise, beginning chains do not count as stitches. For dc rounds, ch 2 to reach height, then work the first dc into the first stitch; join to the first real dc. For sc rounds, ch 1 and join to the first sc. For flat sc rows, ch 1 and turn. Flat dc rows explicitly use ch 3 as the first counted dc. Do not work into joining slip stitches. Change color by completing the last yarn-over of the preceding stitch with the new yarn.
To work sc2tog: insert hook into the next stitch and draw up a loop, repeat in the following stitch, yarn over and draw through all three loops. For a surface slip stitch, bring the yarn up from behind the fabric, insert the hook into the next chosen gap and pull the new loop through the loop already on the hook. Keep these stitches loose.
Additional US terms used here: inc = 2 stitches of the stated type in one stitch; dec/sc2tog = single crochet two together; dc2tog = double crochet two together; sc3tog = single crochet three together; tr = treble crochet; BLO = back loop only; front-post dc = work a dc around the post from front to back to front. A ch-3 turning chain counts as one dc unless a step explicitly states otherwise; a ch-1 turn never counts as a stitch.
1. Mustard Wall Phone Pocket

The reference highlights mustard, rust and green in a mustard wall phone pocket. The written construction preserves the overall idea while simplifying details that cannot be reliably recovered from a photograph.
Materials, gauge and size
Firm cotton, approximately 80–120 g for a phone pocket or 350–600 g for three baskets and straps; 3–4 mm hook. Add a purchased dowel and strong hanging cord for the tiered organizer. Colors: mustard, rust and green. These are estimates: weigh a sample, multiply by the planned component count and add 15–20% for assembly and adjustments.
Also use a yarn needle, scissors, stitch markers and a measuring tape. Swatch the actual stitch and fit to the phone, basket supports or table. Cotton stretches under weight; no fixed load rating is claimed.
Pocket front and back
- Use firm cotton; sample gauge 20 sc × 22 rows per 10 cm. Measure phone width and thickness. Example two 20-stitch panels produce about 10 cm internal width before seams, so allow for seam loss. Ch 21; Row 1 sc in second chain and across [20]. Rows 2–30: sc across [20]. Make one front.
- Back: ch 21 and work 20 sc for 50 rows. Sew front and back along both sides and the bottom, matching the lower 30 rows. Leave the front top open. Outline the remaining upper back with sc and three sc at each corner.
- Hanging tab: at back top center join yarn over six stitches. Work 6 sc for 14 rows. Fold tab backward and sew its end securely to the back to create a loop. Fit to a suitable existing wall hook. Optional small flower: make the mini flower and two small 13-stitch leaves described below; sew flat to the pocket front.
- With the center color work 10 sc into a magic ring; join [10]. With the petal color repeat (sl st in next sc, 5 dc in next sc) five times. [Five petals] Fasten off with a sewing tail; weave or sew both ends securely.
Small leaves and finishing
- Ch 7. Work sc, hdc, 2 dc, hdc, 3 sc in last chain, then hdc, 2 dc, hdc, sc along the underside [13]. Make two and sew beside the flower. Reinforce all three pocket seams and the hanging tab through several rows.
- For a charging lead, leave a 1 cm opening at the center of the bottom seam, overcasting the edges. Keep the phone loosely supported and confirm its weight does not deform the tab. A small lined pocket is an original interpretation; the reference’s exact dimensions are not known.
Assembly and finishing
- Check all counts before joining. Weave ends through several stitches in three directions. Sew point joins more than once and distribute tension evenly.
- Wash a sample using the yarn care instructions, block gently and allow it to dry completely. Recheck fit or motif size after washing. These original patterns are photo-inspired and physically untested; they do not reproduce a verified photographed chart.
2. Three-Tier Daisy Hanging Organizer
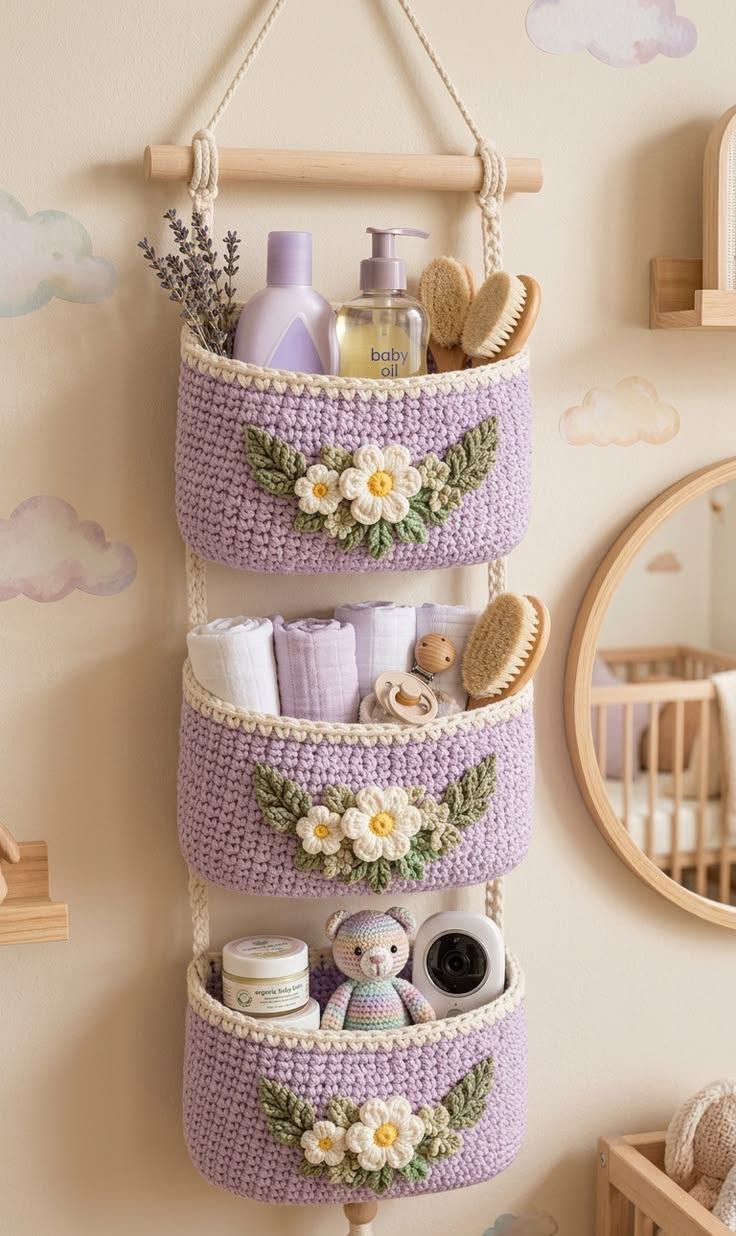
The reference highlights lilac, ivory, gold and green in a three-tier daisy hanging organizer. The written construction preserves the overall idea while simplifying details that cannot be reliably recovered from a photograph.
Materials, gauge and size
Firm cotton, approximately 80–120 g for a phone pocket or 350–600 g for three baskets and straps; 3–4 mm hook. Add a purchased dowel and strong hanging cord for the tiered organizer. Colors: lilac, ivory, gold and green. These are estimates: weigh a sample, multiply by the planned component count and add 15–20% for assembly and adjustments.
Also use a yarn needle, scissors, stitch markers and a measuring tape. Swatch the actual stitch and fit to the phone, basket supports or table. Cotton stretches under weight; no fixed load rating is claimed.
Three oval baskets
- Use firm DK/worsted cotton, gauge approximately 18 sc per 10 cm. Make three identical baskets. Round 1: ch 21; sc in second chain and next 18 chains, 3 sc in last chain; working the underside sc in next 18 chains, 2 sc in the starting chain [42]. Mark the three stitches at each curved end.
- Round 2: on each curved end increase in all three marked stitches; sc in all straight-side stitches [48]. Round 3: distribute three increases evenly around each six-stitch curved end; sc elsewhere [54]. Round 4: distribute three increases around each nine-stitch curved end [60]. Keep the two straight runs at 18 sc each; end sections now contain 12 stitches each.
- Round 5: sc BLO around [60]. Rounds 6–17: sc around [60]. Round 18: sc around [60], then slip-stitch once and fasten off. Use lilac for the walls, ivory for the last two rounds. A sample oval is about 18–20 cm wide, but measure the actual basket.
Daisy square
- Round 1: With yellow work 8 sc in a magic ring; join. [8 sc]
- Round 2: With white, in each sc work (sc, ch 3, dc, ch 3, sl st). [Eight petals]
- Round 3: Behind the petals, work sc around each Round-1 sc post, ch 3 after each sc; join. [Eight sc, eight ch-3 spaces]
- Round 4: With the frame color, in the first space work (3 dc, ch 2, 3 dc), 3 dc in next space; repeat four times. [36 dc, four corners]
- Round 5: Sc in each dc, and (sc, ch 2, sc) in each corner. [44 sc, four corners; 11 sc along each side] Block square.
Daisy appliqué and hanging structure
- For each basket make one daisy using only Rounds 1–3 of the daisy-square instructions above: center, petals and back loops. Fasten off before the square frame. Sew the flower center and all petal tips to the basket front. Add two small green leaves per basket using ch 7 and the 13-stitch leaf given here: sc, hdc, 2 dc, hdc, 3 sc in end, then hdc, 2 dc, hdc, sc on the underside.
- Make two support straps: ch 7, sc in second chain and across [6]; repeat 6-sc rows to 85 cm. Block both to the same length. Lay parallel with 12 cm between them. Position basket tops at 20, 45 and 70 cm from the strap tops, with straps behind basket backs. Sew each basket to each strap along at least 8 cm of wall height, using reinforcing stitches through several wall rows.
- Fold each strap top over a smooth purchased wooden dowel, sew a 5 cm overlap securely and tie a strong cord to both dowel ends. Reinforce joins and test gradually with light dry items. The dowel and hanging cord are purchased supports; this organizer is not intended to carry a fixed claimed weight.
Assembly and finishing
- Check all counts before joining. Weave ends through several stitches in three directions. Sew point joins more than once and distribute tension evenly.
- Wash a sample using the yarn care instructions, block gently and allow it to dry completely. Recheck fit or motif size after washing. These original patterns are photo-inspired and physically untested; they do not reproduce a verified photographed chart.
3. Pink Floral Dining Room Set
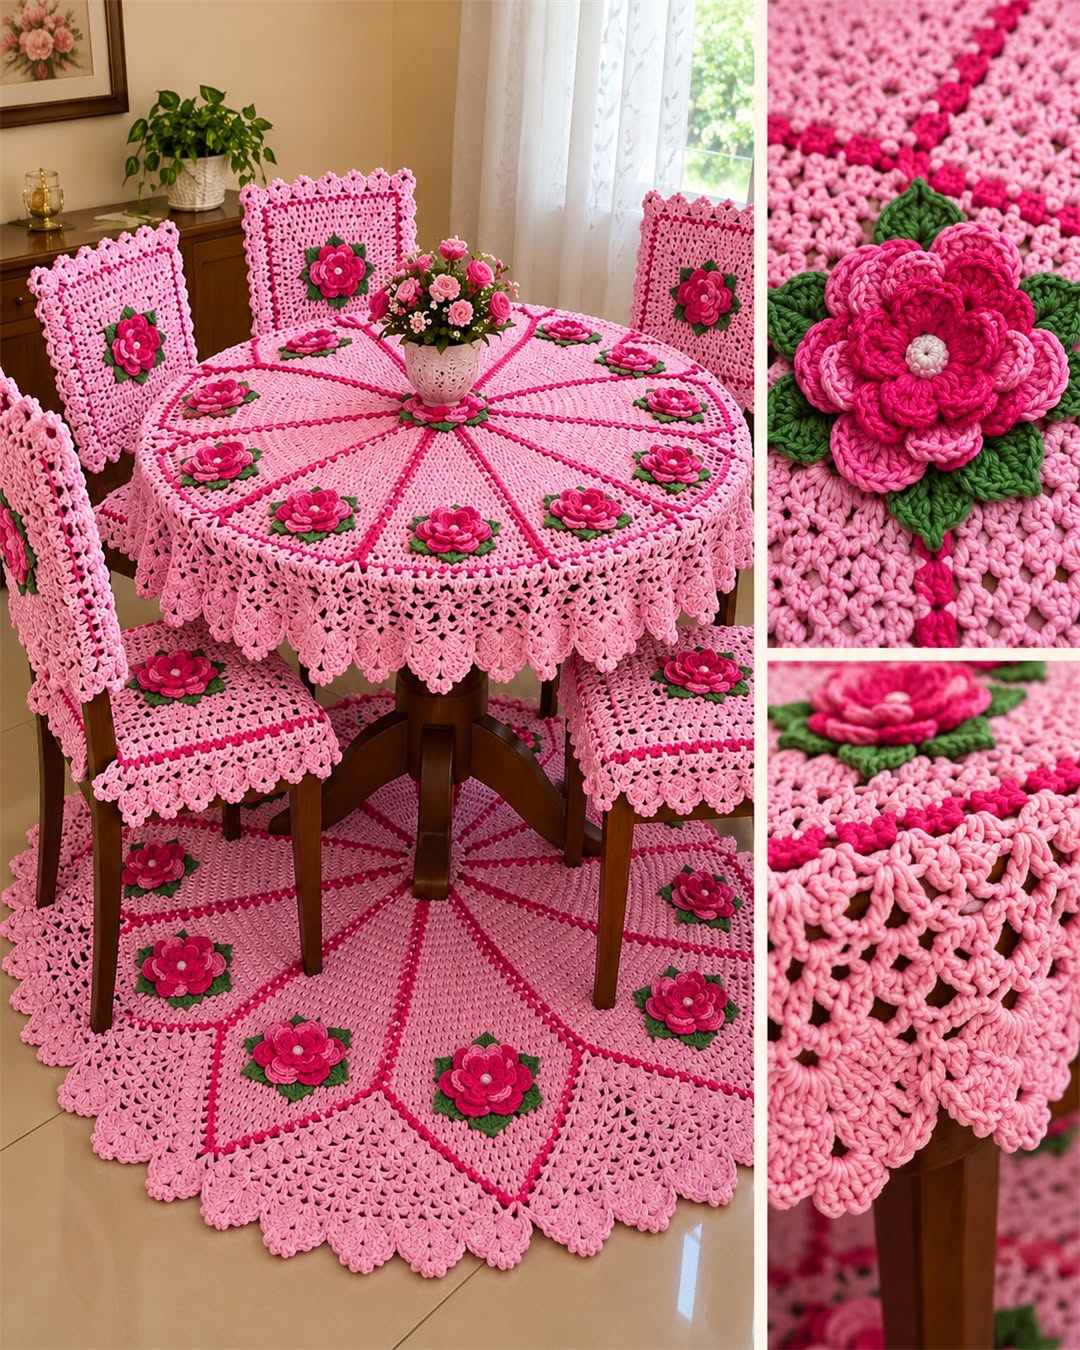
The reference highlights pink, raspberry and green in a pink floral dining room set. The written construction preserves the overall idea while simplifying details that cannot be reliably recovered from a photograph.
Materials, gauge and size
Washable cotton, approximately 1,200–2,500 g for the tablecloth and modular accessories; 3–4 mm hook. Add pad inserts, fabric backing and non-slip underlay as specified. Colors: pink, raspberry and green. These are estimates: weigh a sample, multiply by the planned component count and add 15–20% for assembly and adjustments.
Also use a yarn needle, scissors, stitch markers and a measuring tape. Swatch the actual stitch and fit to the phone, basket supports or table. Cotton stretches under weight; no fixed load rating is claimed.
Round pink tablecloth
- Round 1: Into a magic ring work 12 dc; join. [12 dc]
- Round 2: Work 2 dc in each stitch; join. [24 dc]
- Round 3: Repeat (1 dc, 2 dc in next stitch) 12 times; join. [36 dc]
- Round 4: Repeat (2 dc, 2 dc in next stitch) 12 times; join. [48 dc]
- Round 5: Repeat (3 dc, 2 dc in next stitch) 12 times; join. [60 dc]
- Round 6: Repeat (4 dc, 2 dc in next stitch) 12 times; join. [72 dc]
- Round 7: Repeat (5 dc, 2 dc in next stitch) 12 times; join. [84 dc]
- Round 8: Repeat (6 dc, 2 dc in next stitch) 12 times; join. [96 dc]
- Round 9: Repeat (7 dc, 2 dc in next stitch) 12 times; join. [108 dc]
- Round 10: Repeat (8 dc, 2 dc in next stitch) 12 times; join. [120 dc]
Extend to the measured table
- The 10-round circle above ends with 120 dc. For each later round r, repeat (dc in next r − 2 stitches, 2 dc in next stitch) twelve times [12r dc]. For example Rounds 11–15 have 132, 144, 156, 168 and 180 dc. Continue until the circle diameter equals table diameter plus twice the desired drop. At 16 dc per 10 cm, 720 dc around a 60-round circle suggest about 143 cm circumference-derived diameter, but the actual row gauge governs; measure flat after every five rounds.
- Circumference divided by pi gives only a planning estimate, not a guaranteed fabric diameter. If the circle ruffles, reduce increases in the next round; if it cups, add evenly spaced increases and record the revised total. Do not force it flat by stretching. After a revision, the perimeter may no longer be a multiple of six: before shell edging, add or remove up to three evenly spaced stitches to reach the nearest multiple of six.
- Once the measured diameter is reached, stop increases. Edge Round 1: sc around [same count]. Edge Round 2: (sc in next stitch, skip 2, 5 dc in next, skip 2) around; all base round totals are multiples of six, so there is a complete shell repeat. Edge Round 3: sc in each existing stitch [same total].
Raised rose appliqué
- Ch 21. Row 1: Sc in second chain and across. [20 sc]
- Row 2: Ch 1, turn; repeat (sl st in next stitch, 5 dc in next stitch) ten times. [Ten petals; 10 sl sts and 50 dc] Fasten off with a 40 cm tail.
- Roll the petal strip from one end, keeping the sc foundation along the bottom. Stitch through the base several times, then spread the outer petals gently. Sew the rose to the motif through the base, then tack each outer petal so it cannot catch on loose threads.
- Ch 13. Starting in the second chain work sc, hdc, dc in each of the next 8 chains, hdc, then 3 sc in the last chain. Rotate; work into the unused chain loops: hdc, dc in each of the next 8 chains, hdc, sc. Join to the first sc. [25 stitches]
- Ch 1; sl st loosely into each stitch around. Fasten off with a long tail. Sew only through the underside of the leaf edge to attach, keeping the center flexible.
Floral trim, four chair pads and floor runner
- Make twelve rolled roses and 24 leaves; sew twelve equally spaced clusters around the tablecloth about 8 cm above the scalloped hem. Keep each leaf flat with stitches at both ends. For four chair pads, make eight solid squares using the five-round framed-square pattern below. Extend each square by repeating its dc frame round until it matches the chair seat, measuring regularly.
- Pair two panels for each pad. Sew three edges, insert a purchased thin washable cushion and close the fourth. At each rear corner attach a tie: ch 41, sc in second chain and across [40]; make two ties per pad and reinforce. Decorative chair-back panels can use one additional matched square per chair, with the same two reinforced upper ties.
- Floor runner: make twelve matching framed squares and arrange two columns by six rows. Whipstitch equal edges and work two sc border rounds with (sc, ch 2, sc) at corners. At W = 20 cm the runner is about 40 × 120 cm before edging. Use a suitable non-slip underlay and keep dangling fringe off the floor. These modular accessories simplify the reference’s shaped chair covers.
Framed square for pads and runner
- Round 1: In a magic ring work (3 dc, ch 2) four times; join to the first dc. [12 dc, four ch-2 corners]
- Round 2: Join the second color in a corner. Work (2 dc, ch 2, 2 dc) in each corner and 1 dc in each of the three side stitches; join. [28 dc, four ch-2 corners; seven dc per side]
- Round 3: With the third color, work 1 dc in each dc and (2 dc, ch 2, 2 dc) in each corner; join. [44 dc; 11 per side]
- Round 4: Repeat Round 3. [60 dc; 15 per side]
- Round 5: Repeat Round 3. [76 dc; 19 per side] Block to approximately 12 cm; change hook size if necessary. Each contrasting frame creates a geometric outline.
Assembly and finishing
- Check all counts before joining. Weave ends through several stitches in three directions. Sew point joins more than once and distribute tension evenly.
- Wash a sample using the yarn care instructions, block gently and allow it to dry completely. Recheck fit or motif size after washing. These original patterns are photo-inspired and physically untested; they do not reproduce a verified photographed chart.